
11/17/05- Thursday
Removed 14-pound turkey from freezer to defrost in the refrigerator. Plan to de-bone Tuesday, 11/22/05.
11/18/05- Friday
Removed 5.5 pound duck from freezer to defrost. Plan to de-bone Tuesday, 11/22/05.
11/19/05- Saturday
Removed 5-pound chicken from freezer. Plan to de-bone Tuesday, 11/22/05.
Now that I have removed these three birds from the freezer, I guess I have committed myself to making Turducken this Thanksgiving. After reading up on others experience with cooking the treat, I understand that the de-boning is the most active time consuming process next to the time needed to cook these birds.
11/22/05- Deboning:
After daydreaming all day at work on how I was going to accomplish this, I was ready. Every step of the process I had gone over in my mind. I felt like I was already experienced.
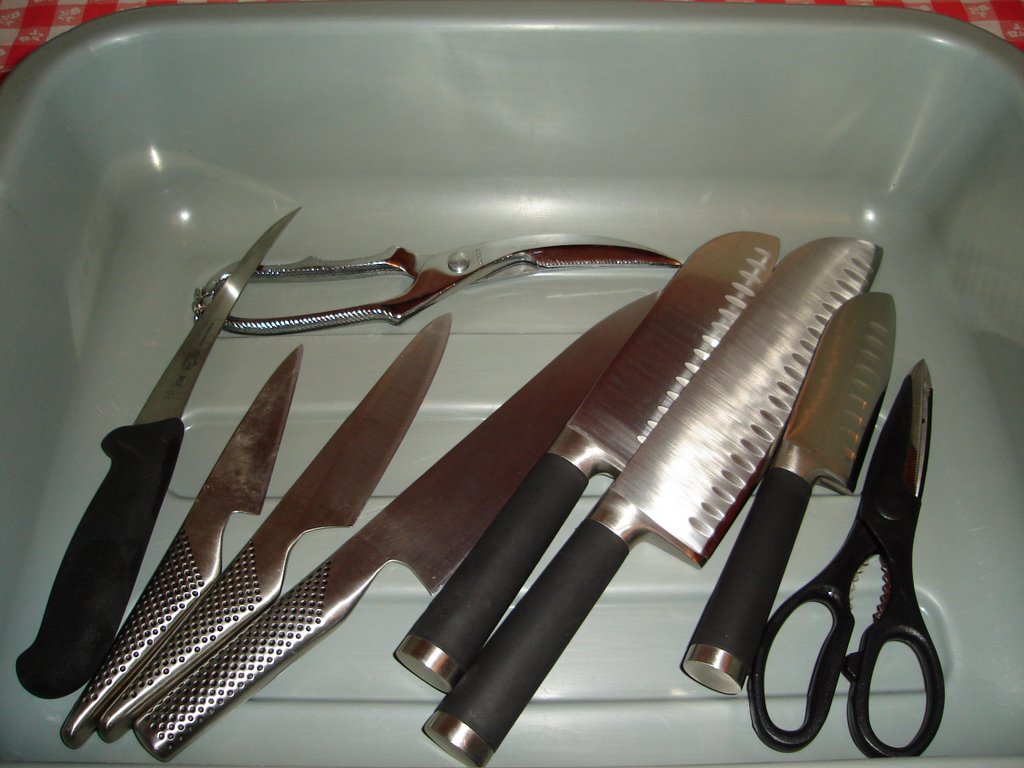
Sharp knives I do have. I took my husbands fancy deboning knife and my Globals plus some poultry shears and placed them in my "surgical tray". I also made sure I had some backup knives of all sizes. I sharpened all the knives and placed the sharpener near by just in case I needed to redo one.
I placed a plastic disposable table cover on my kitchen table. At hand I made sure I had the knives, a roll of paper towels and kitchen towel at my side. I also used one Saran Sheet to place under each bird to absorb any juices and keep my table dryer. I set up my video and digital camera to document the process and I was ready to go.
The Birds:
The birds were washed, giblets and necks removed and patted dry. Each bird was kept in the refrigerator until it was time for its de-boning.
Notice, I haven’t said anything about any help for me. Ziggy was my only source of encouragement and obviously he couldn’t help. I was going to do this alone. Others have noted that it took about 3 hours to complete the deboning of all three birds with some assistance. Since I have never deboned anything other than filleting a fish, I was prepared to take longer.
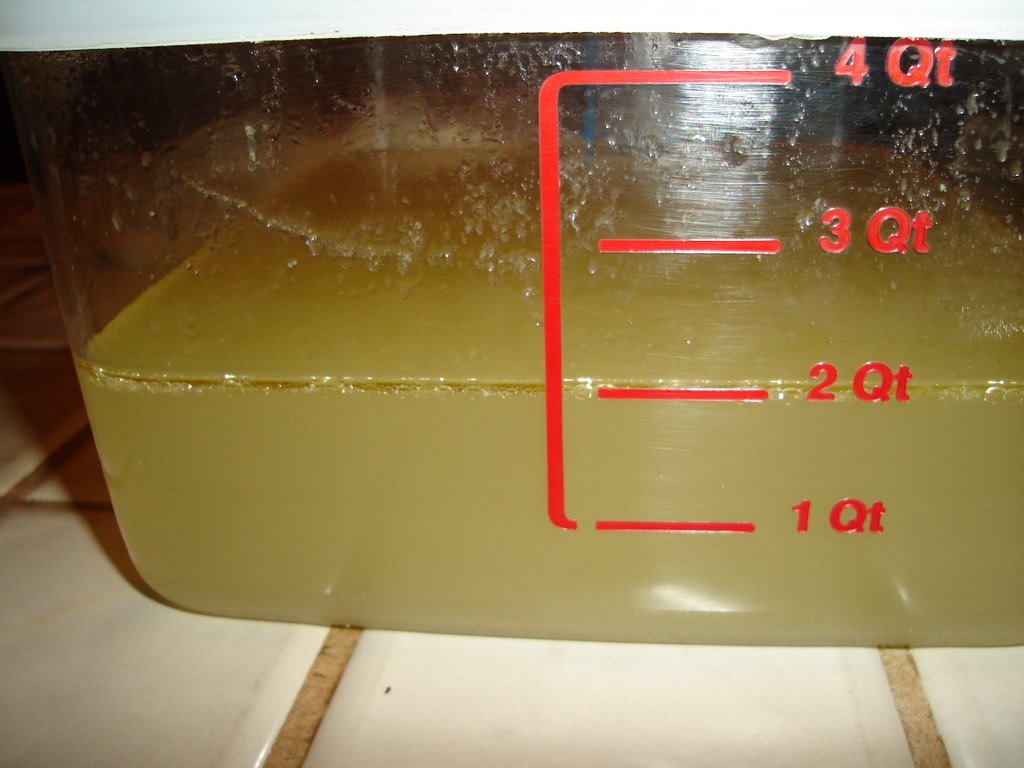
I placed a large stockpot on the stove filled halfway with unsalted water. My plan was to add the bones to this water as I progressed.
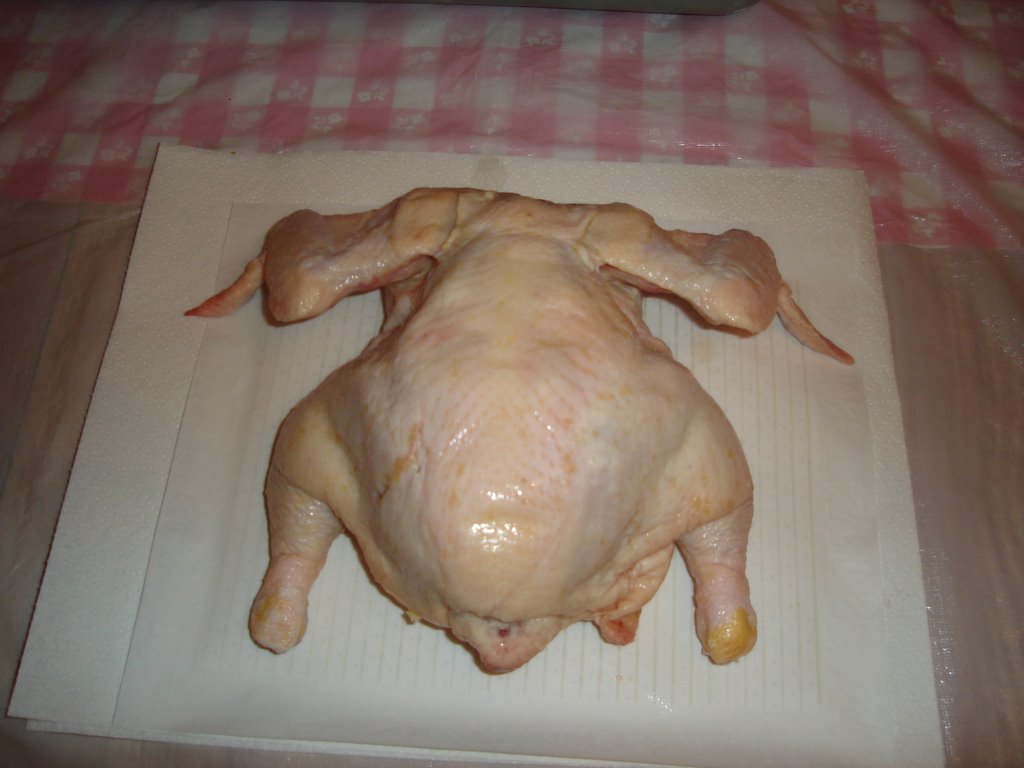
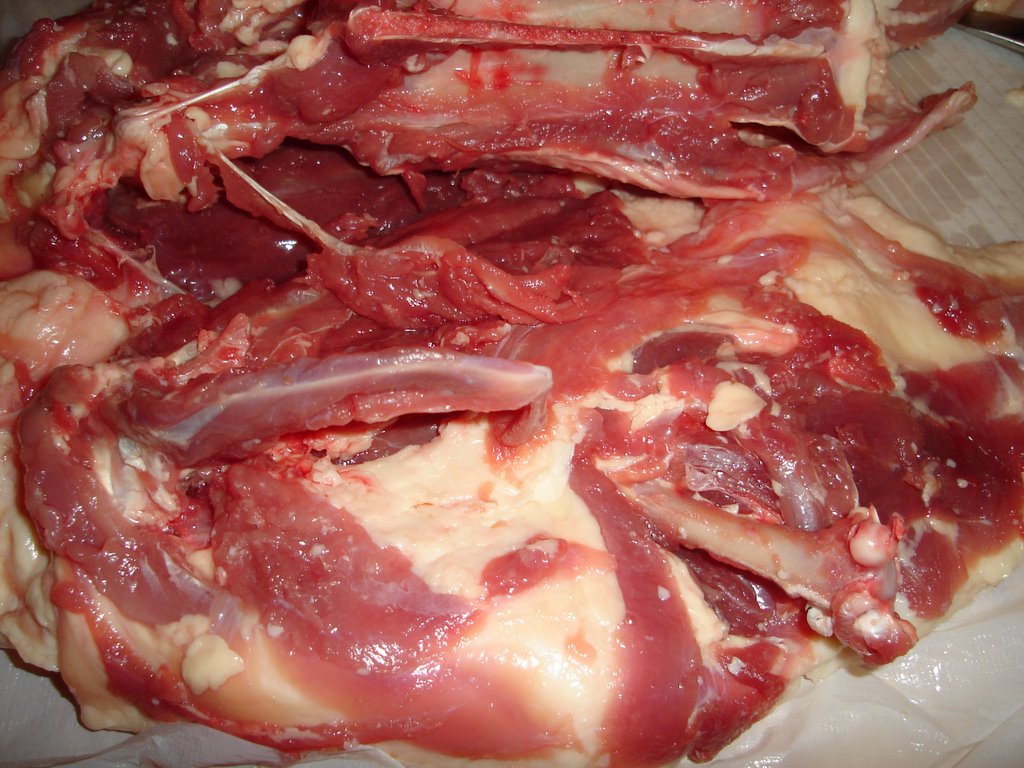
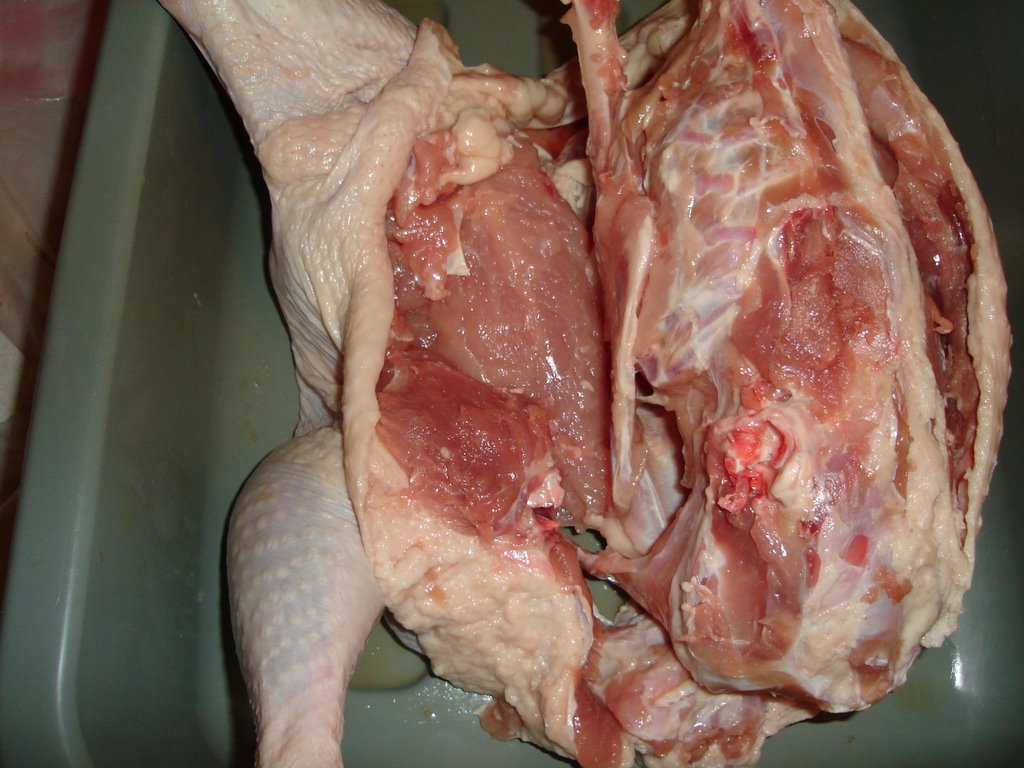
I started with the chicken. I decided the wing tip and first section of the wing were not necessary to debone and so I just cut them off and added to the water I had for stock prep. From each drumstick, I cut off about ¾ inch of the tip in the hopes that it would be easier to remove this bone. These tips were added to my stock water. I then sat down and prepared for my first cut down the spine of the bird. I made one long cut and proceeded first with the left backside. Keeping my knife close to the bone I painstakingly cut and detached the carcass from the chicken. My first obstacle was the thighbone. I found it easier to use the poultry shears to pluck the thighbone from the main carcass. I then detached the meat from the bone. I slipped my finger through the cutoff tip of the drumstick and used my finger to detach the meat from this bone working my way up the bone. I reached the point where the drumstick attached to the thighbone. This was one of the hardest dissections as there are a lot of strong tendons. Poultry shears helped a lot. Note during this process, the chicken remains in good condition. I am not making ground chicken. Now that the drumstick and thigh are deboned, I proceed to the scapula bone and wishbone.
This just took patience and clean cuts. I still had the third section of the wing to de-bone. Noting that the chicken will be inside the duck. If I massacred the wing section, it would not be noticed. I made one cut on the bottom of the wing, opened it up and pulled out the bone. I then proceed further around the carcass to the breast meat. I also used my fingers a lot to detach this meat from the bone. I proceeded to the right side and repeated the process. I now had a nicely deboned chicken. It tooled me 35 minutes. I placed it in a plastic bag and returned it to the refrigerator. The bones were added to the stockpot.
I took extra time to wash the knives and tablecloth after each bird. Also note that I had a sink full of warm soapy water with a little bleach in it. This was my disinfecting as well as clean up solution.
The same process was done on the duck. The major difference is that there is a lot more fat in the duck skin and less actual meat. The thighbone was a bit harder to detach from the main body and I gave up on deboning the third section of the wing. I added both duck wings to my stockpot.

The turkey was a breeze compared to the chicken and duck. I chose to keep the bone in for the drumsticks and wings. This goes along with others. It also helps to maintain the final look of the turkey for presentation.
Total time to finish all three birds was 2 ½ hours including a couple of telephone and bathroom breaks. Cleanup was just to add the bones to the stock solution, throw away the disposable tablecloth and paper towels, wash the knives and shears. Wash down the table and drink a cup of tea as I sighed of relief.

I decided to do my "mis en place" for the stuffing/dressing and all my other Thanksgiving dinner entrees. I always prep onions, celery, bell pepper and garlic. Each was packaged in a ziplock bag for use as needed.
The Stuffing/Dressing:
I decided to use a combination of traditional dressing with Cajun spices (cayenne, paprika, garlic, oregano, thyme, black pepper, salt). I bought some Mrs. Cubbisons cubed stuffing mix which I will add to the traditional trinity (onion, celery and bell pepper cooked in butter until the veggies are wilted) with some cubed andouille sausage and seasoned with a blend of spices adapted from Emeril’s seasoning recipe.
 If you do not plan to immediately cook the Turducken after you stuff it, I suggest you make the dressing early enough so that it can completely cool in the refrigerator before building your Turducken.
My birds are now ready to brine.
After de-boning, the birds were placed in a brine solution adapted from radio talk show hostess Melinda Lee. She suggested using a solution of apple juice 1 ½ gallons, whole cloves 2 tsps, whole black peppers 2-3 tsps, brown sugar 1 ¼ C, Kosher salt 1 ½ C, orange peel with none of the white part and water but with my Cajun seasoning choice I left out the apple juice and just used water with the other ingredients. This solution was heated until the salt was completely dissolved. I suggest you make the brining solution well in advance so that it is completely cooled before the birds are added. I did this 11/22 am before going to work.

I also took a suggestion from one of Alton Brown’s Thanksgiving shows and used one of those big umpteen gallon plastic water coolers with the spickot at the bottom. The tall and narrow shape is just right for the birds. Because I do use this container for picnics and outdoors parties, I lined it with a plastic kitchen waste bag so the seasonings in the brine wouldn’t stain and permanently set up residence in my cooler. I placed a gallon size plastic bag full of ice in the bottom of the liner, added the deboned turkey, then another gallon bag of ice, added the chicken and duck and topped this with a third bag of ice. I poured the brine solution into the container and added a bit more cold water to make sure everything was covered. Placing the ice in the plastic bags prevents the thawed water from further diluting the brine solution. I then placed the cooler with ice in the garage to better assure that it stayed very cold over the 12 hours it is to brine overnight. (L.A. high temps have been in the upper 70’s for the past week.)
11/23/05- Post brining and Building the Turducken.
Stay tuned.
turducken
Other sites on how to make a Turducken:
1
2
3
4
5
6
2 comments:
Excellent..:):)am staying tuned ..first time visitor to your blog..am adding your link to my food blog..:)
btw ziggy is cute and cool...:):)
Sylvie:
Good luck with the Turducken. My first experience was last Thanksgiving. I believe the combination is overated. You certainly have put in plenty of work. I hope the dish turns out well.
Lobo
Post a Comment